Blog

My Freezer Meal Planning Part 1

It’s planning time again!  Even though I have a freezer stuffed with soup right now I’m looking ahead to my next round that I’ll be prepping in December.  Why do I plan this far in advance?  The biggest reason is that I have a hard time deciding what to make.  I have tons of great recipes, but to decide on only 13-15 (that’s how much my freezer can hold) is challenging for me.  Especially because I have a tendency to pick recipes with chicken and have that be the only meat option.  So right now I’m going through all of my recipes and picking some favorites and throwing in a few new ones as I always do.  Seriously, it can take me 3-4 weeks to make up my mind on what to make.  I don’t sit down and do it all at once 🙂

I also plan this far in advance because I know that food always goes on mega sales in November.  Having my shopping list ready to hit sale items helps me save on cost.  I haven’t spent over $150 yet on a round of prep so I feel that this method works for me to save money.  Not saving a ton of time at this stage, but I find this part of the process relaxing so I use it to chill out from the day.  I’m kind of a nerd like that.

I have a lot of people that ask me about my process and why I plan so early, so there it is!

Update: With any planning session there is usually something that comes up that causes a slight delay.  This time I had all of the recipes pulled and was making out my list when I realized that I didn’t have healthy recipes. I usually try to make most of mine healthy.  Back to planning I go (this time with eating before planning)!

Getting Started with Organizing

I have a natural talent for organizing, it’s okay if you glare at the screen as you’re reading this.  What I’ve realized from helping those that don’t have natural talent is that the most frequent barrier to organizing is where to begin.  So here are some basic steps to get you started on your organizing journey.

  1. Start small.  This is extremely important to remember when you are just beginning.  Pick a small area such as a medicine cabinet, a shoe rack, a drawer, etc.
  2. Set aside a sorting area.  Since you are starting small this shouldn’t be an issue. Counter space, a clear area on the floor, the bed, any space that has a larger cleared area will work.
  3. Brace yourself for a mess.  It will get worse before it gets better.  Take a deep breath and gather yourself.
  4. Have a trash can handy. I guarantee you will end up throwing something away, it’s easiest just to have one within reach.
  5. Take every single item out of the area that you are trying to organize and place the items in the sorting area.
  6. Throw away anything broken, that has missing pieces, that is expired, or that you will never use but you can’t donate.  Place items to be donated in clearly marked bags so that they are designated from trash and easy to toss in the car when you are ready to take them somewhere.
  7. Sort items according to likeness, pairs, or items you want handy at all times.
  8. Will the items fit in the organizing tools that you have purchased?  If not rethink if you need everything or if there is another location that the items might possibly fit.
  9. Place items neatly in bins or drawer organizers according to how you need to access them.
  10. Place the rest of the items neatly in the cabinet, rack, cupboard, etc.

Have a hard time determining how to neatly place items in an area?  Here is an example:

under kitchen sink

Items I use the most are placed at the front of the bin along with smaller items so that I can see everything at a glance. Dish items are grouped together and cleaning products are grouped together.  Shorter items are also in the back so that the bin fits underneath the disposal.

Prepping Your Kitchen

The one mistake that I see others posting about is not prepping their work space and running into issues, especially when trying to assemble 10+ meals in a few hours or if they have multiple people prepping in the same area.  There are some simple things you can do ahead of time that will make your prepping session go easier.

  1. Sanitize your counters.  I use disinfectant wipes and wipe down all of my surfaces that I’ll be preparing food on.  Preparing this much food at once has me a more than a little concerned about sanitation.  I also wipe down the surfaces when I’m done and sometimes even halfway through depending on how much raw meat I am cutting up.  I’m messy with food prep as it is, so a handy container of wipes is a necessity of mine.  Word to the wise, make sure after you disinfect that you also check the instructions on the wipes.  Frequently you’ll need to wipe down surfaces after a disinfectant so that it doesn’t contaminate your food.
  2. Have plenty of dish soap on hand.  It takes so much time to run a load through the dishwasher when all you may need is a measuring cup or a prep bowl washed.  If you use a dish wand with the soap in the handle I recommend beginning with a fresh sponge on top and disposing afterwards depending on what you end up washing and how frequently.
  3. Begin with an empty trash can.  There’s nothing that’s more annoying to me than when I’m in the cooking zone and I have to take out the trash in the middle.  It’s also good to begin with empty recycling bins.  These simple steps can save you the hassle of having to stop and run the trash and/or recycling out.
  4. Empty the freezer.  This may take a few days prior, but you don’t want anything in the freezer that isn’t necessary so that you have the maximum amount of space available.  If you’re planning on using freezer bags you’ll want space to lay them flat.  One of the many benefits of living in the Midwest is having the frigid air of the outdoors during the winter.  Sometimes my food freezes faster outside on my deck.
  5. Double check your supplies.  Do you have enough pans, prep bowls, measuring cups and spoons, freezer containers and bags, a Sharpie, masking tape?  Did you purchase everything on your shopping list?  Do you have extra spices for items you make that you want to add something to?  I’ve messed up plenty of times where I have forgotten something on my list or miscalculated the number of containers that I’ll need.  With mass cooking a few mistakes can happen easily.  To lessen these it’s good to double check lists and supplies before and during your prep.

Freezer Meal Supply List

If you find a plan that someone else has created they sometimes will have the basic supplies that you will need.  If you are creating your own plan or want to make sure you aren’t forgetting anything here is a basic supply list to make sure that your prep session is maximized.

Sharpie markers-make sure that you don’t use regular coloring markers, they will run in the freezer.  You will want to make sure to label everything and write instructions so that you don’t have to figure out what is in a container or how long to cook something.  I’ve used these on foil on casseroles, masking tape to label containers, and writing directly on the freezer bag.

Masking tape-I get annoyed trying to scrub marker off of my containers so I use masking tape as an easy way to create and remove a label.

Brand name freezer bags-the store brand and bargain bags just don’t seal as well as the name brand bags.  The bags will run a little more, but you can usually find coupons or a sale to save some money.  I found out the hard way that the cheap bags will only last a week or so before freezer burn sets in.

Freezer containers-again you will want brand name containers because they seal the best.  Make sure that the package says you can use them in the freezer, if they aren’t meant for the freezer then freezer burn will set in.  Rubbermaid, Glad, and Ziploc are all brands that I have found useful.  A word to the wise, make sure that you have space in your freezer for all of the containers you are putting in there.

Disposable pans-these take up a lot of room!  I have a freezer on top of the ‘fridge so these are not ideal for me.  But if you have a larger freezer these are a great way to make casseroles and freeze.  If they don’t have lids you will also want to have some aluminum foil on hand.  Disposable pans can be used again to prevent waste, but most people that I’ve seen that use this method do it so they can save their glass baking dishes for their other cooking.  They also work great for taking meals to someone.

Measuring cups/spoons-If you’re only doing a few meals one set will work fine.  I typically use three sets when I do 10+ meals.  It saves a lot of washing time.  I also use a large glass measuring cup and a large plastic measuring cup.

Prep bowls-I can never figure out how much one onion equals if I chop all of them at once, so I use prep bowls to separate items.  These simply go in the refrigerator so no need to have name brand bowls, but beware that onions will linger in plastic bowls so it’s best to use glass for those.

Freezer Meals Soup Edition

soup ingredientsI seriously love soup!  Even though it’s in the upper 80’s/lower 90’s I still love eating soup.  Each time I’ve made a round of freezer meals I’ve noticed that I usually eat the soup first.  I figured with all of the delicious produce available this time of year it would be a good time to stock up the freezer for fall.  Nothing says comfort like a delicious bowl of tomato soup or minestrone with grilled cheese.  Since I live in Iowa it only makes sense that I also try out various corn chowder recipes since fresh sweet corn is available any place you look, including parking lots at convenience stores.  So step by step here is what I did.  I haven’t found any posts yet on someone doing only soups so this might be unique enough to get your attention.  Or you might just think I’m crazy, at any rate thanks for stopping by my page!

You’ll also note the TV in the background.  I love my island because while I was prepping most of the soups I watched Christmas movies to get me in the mood.  Thank you Hallmark Channel for the marathon all weekend!

I have an entire board of soups on Pinterest.  I belong to the crowd that frequently makes items that I pin so I started making my way through all of the recipes that I want to try right away.  I then found I had to limit myself because I don’t have a deep freezer and 20 different soups were not going to fit in the freezer I do have.  So I settled on 13 different recipes because that’s what I usually make when I do meals.  All of my empty containers fit in the freezer so I figured I was good to go.  That was mistake number one.  I underestimated how much soup each recipe would make and ended up with more than I planned.  Even with all of the organizing I did I ended up breaking down and buying a small dorm sized freezer.  I also had to purchase more containers.  However, since I do this multiple times per year it was worth it.

soup in freezer

Not smart planning, there are still four soups to fit in here and they will be at least 10 cups each.

Here are links to the recipes that I used.  I underestimated how much they would make so I have that information for you as well.

Olive Garden Pasta e Fagoli-10 cups

Olive Garden Minestrone-14 cups

White Chicken Lasagna-13 cups

Creamy Tomato Tortellini-13 cups

Pepper Jack Chicken Fajita-12 cups

Corn and Zucchini Chowder-9 cups

Summer Corn Chowder-9 cups

Corn Chowder with Shrimp-9 cups

Crab Bisque-12 cups

Rustic Lobster Bisque-7 cups

Chicken Detox-11 cups (I added extra ingredients so this one made more)

Beef, Tomato, and Macaroni-12 cups

Roasted Red Pepper and Tomato-6 cups

I use Rubbermaid and Ziplock containers which have the cup markings on them.  Now that I have a better idea of how much these make I can estimate better 🙂

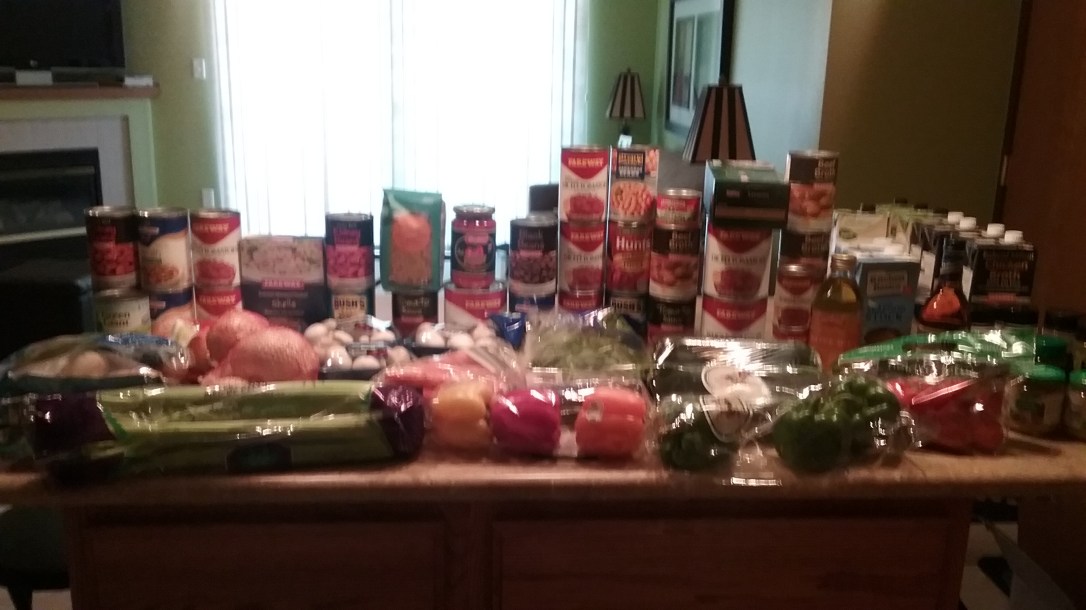
After I decided which recipes to make I sat down and made my shopping list.  I do up one big list with all of the ingredients and then double check what I have on hand.  Since I do meal prep frequently I stock up when items go on sale.  I then divided my list into sections in the grocery store and began watching for the non-perishable items to go on sale.

The photo at the top of the page is all of the ingredients minus the dairy and meat, only because I couldn’t fit them in the space 🙂

I then sketched out a basic plan of which soups to make on which days.  Since I planned on making everything ahead of time I knew that I couldn’t do it all in one day.  I also only have one large pot so a couple of the soups that could be made in a smaller pan or the crockpot were paired with the soups that needed the larger pot.

soup recipes

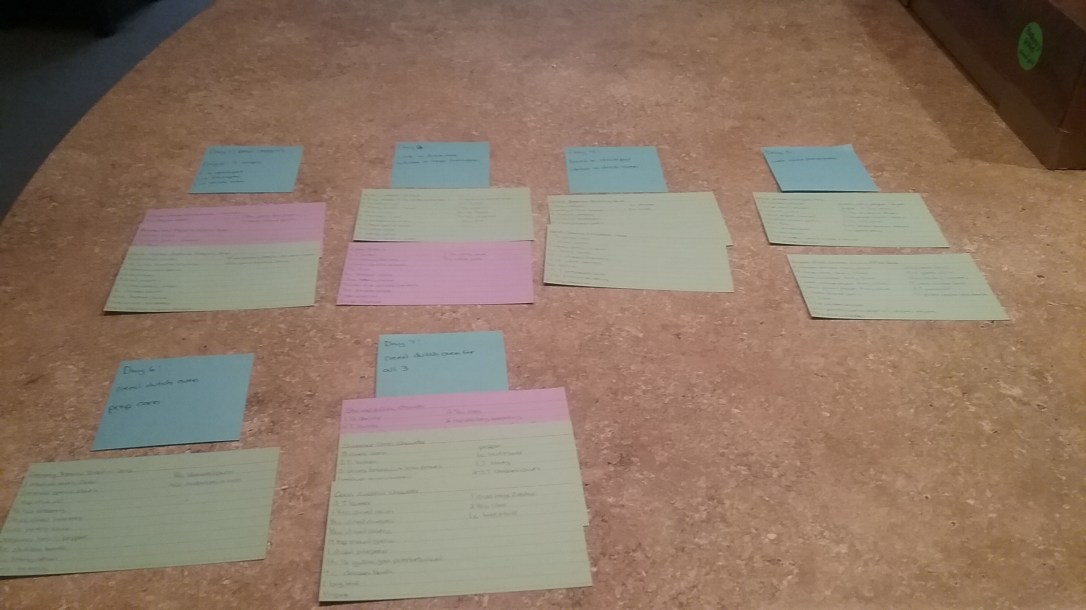
I’m a super messy cook so I always write out cards instead of using my phone for the recipes.  I also like to make notes on veggies or seasoning that I want to add.

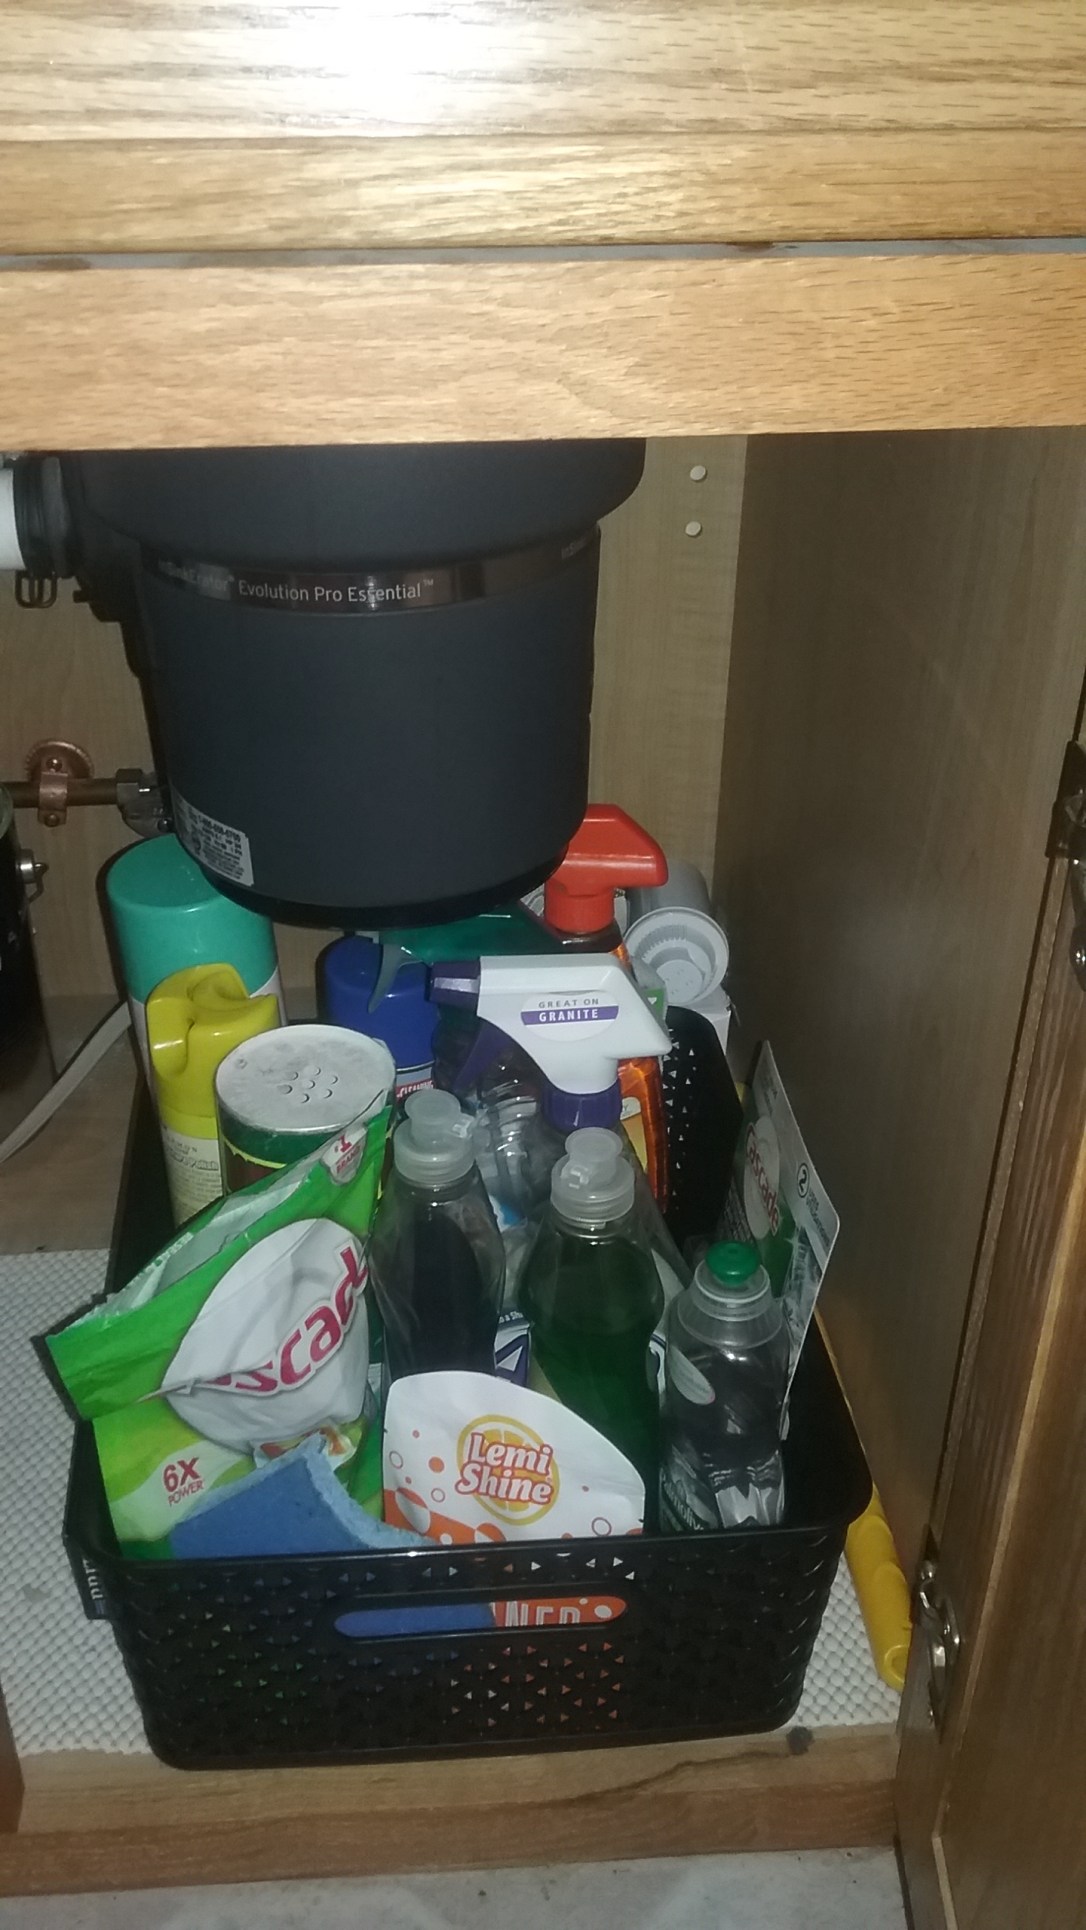
As my usual routine I began purchasing items and when I knew I was ready to begin cooking I bought the rest of the items and perishable items.  Before laying anything out on my island I made sure to wipe it down with a Clorox wipe.  I don’t use these on a regular basis, but feel it’s a good thing to do before and after every large prep session to make sure I get anything lurking around off the surface.

I then got out my prep bowls and started cutting veggies for the first day of soup.  I highly recommend a food chopper if you are planning to do this on a regular basis.  It chops an onion with a simple press of a button, it saves so much time!

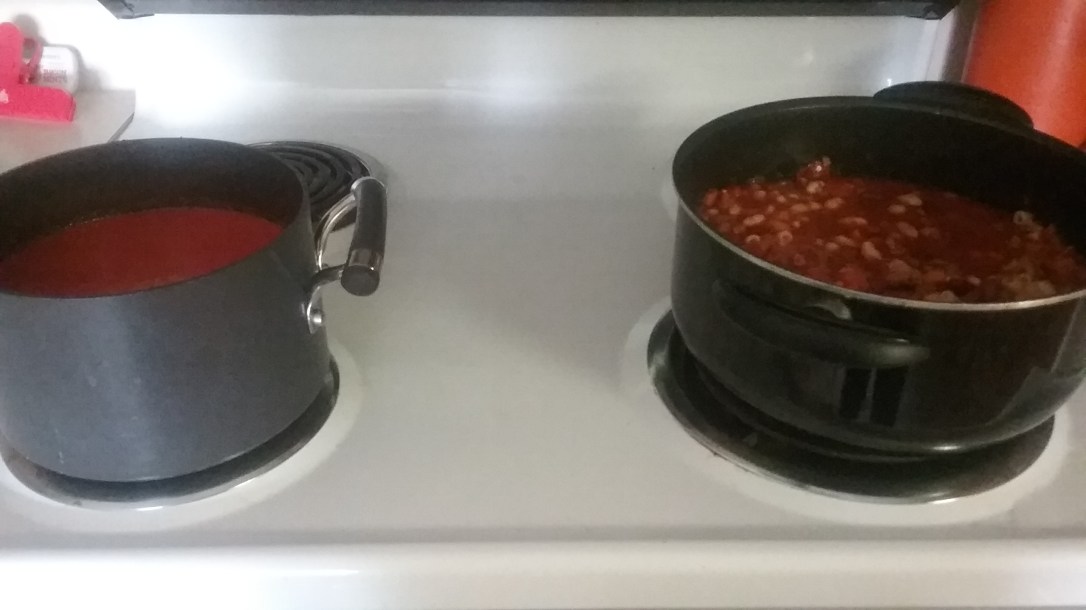
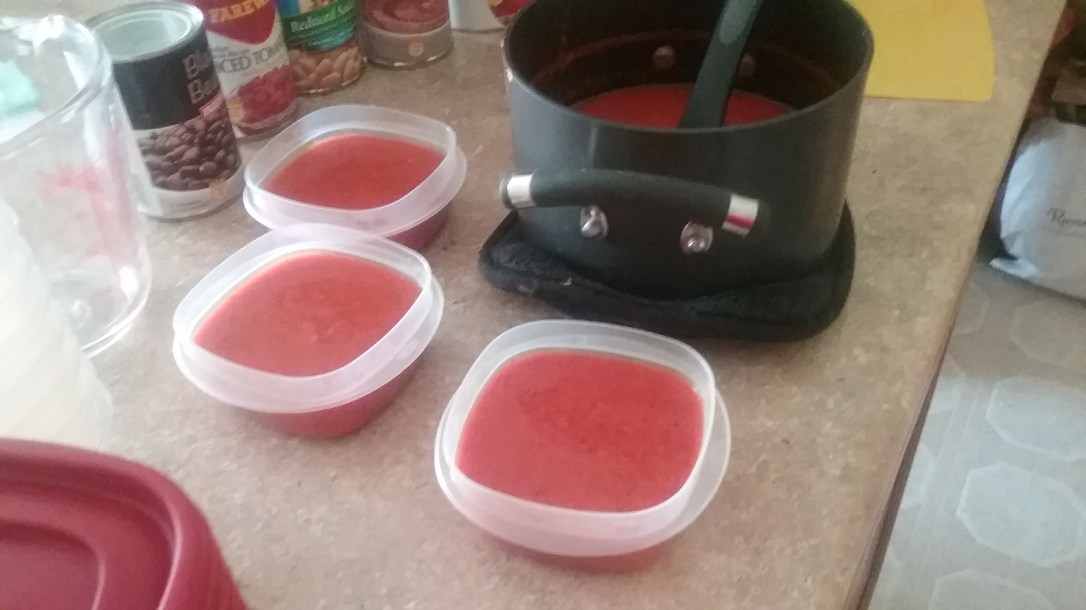
I was only planning on making three soups the first day but ended up making five.  I found that if I let the soup cool down on the stove and then place in containers and cool the rest of the way I can prep for my next recipes, wash the pan, and then begin the next soup.  I always taste test my creations, especially if it is the first time I am making a recipe, so I had small portions of each soup to make sure it tasted ok and didn’t need anything added.  I can safely say that I liked all of the soups.  I didn’t measure out the seasoning, I eyeballed it because I’m familiar enough with my own tastes to know how much to sprinkle in the pot.

Two soups cooking at one time

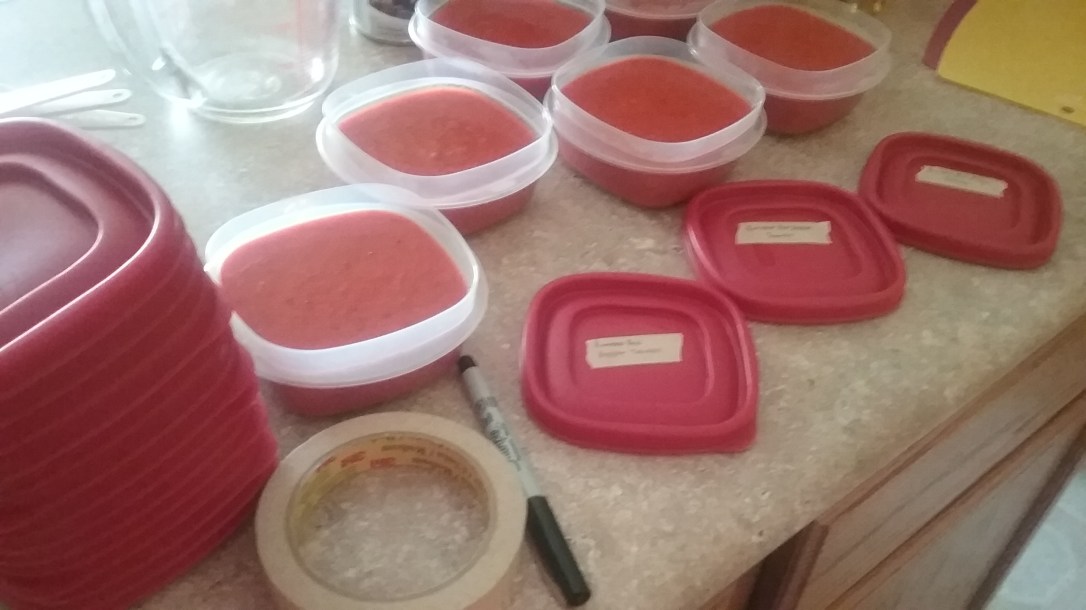
As with any project, each container was labeled with masking tape and written on with a Sharpie.

soup portioning

soup labeling

After some trial and error I am more than likely going to be doing this again.  Though it would be a lot more fun with someone than by myself 🙂